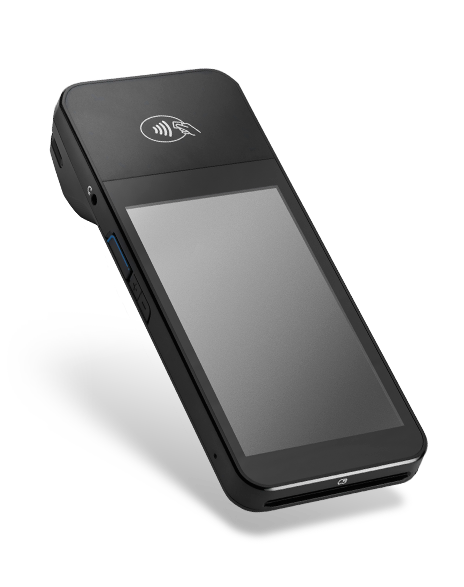
WI-FI
WisePOS terminal
BBPOS WisePOS E
Works with KadePay on a computer, tablet or phone.
- Device
- Computer, tablet or phone
- Hardware
- Order a reader from Stripe

CARD TERMINAL SETUP
Connect your Stripe reader to your KadePay business, or turn a compatible phone into a contactless terminal with Tap to Pay.
Sign in and select the business you want to set up.
CHOOSE YOUR CONNECTION
Use a Wi-Fi reader with your computer, a Bluetooth reader with the mobile app, or a compatible phone on its own.
WI-FI
BBPOS WisePOS E
Works with KadePay on a computer, tablet or phone.
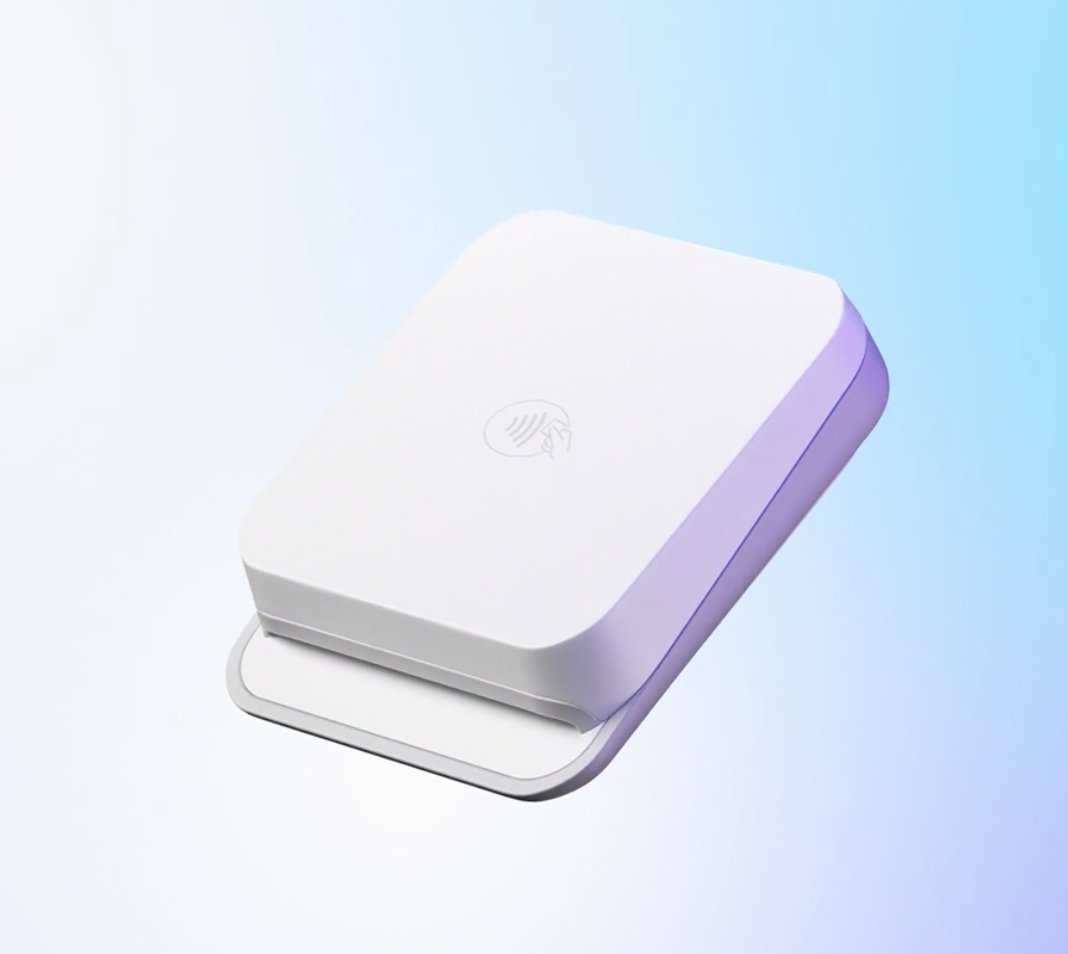
BLUETOOTH
Stripe Reader M2
Take payments through the KadePay mobile app with a portable reader.
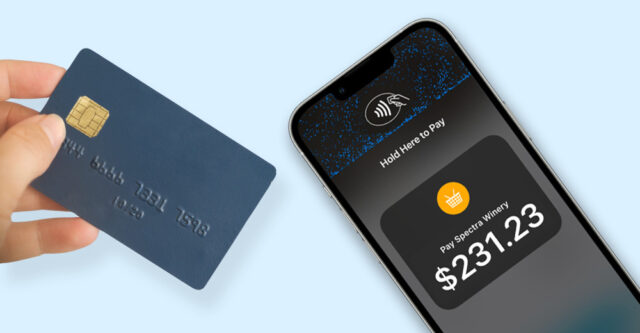
NO EXTRA HARDWARE
Your phone is the reader
Accept contactless payments on some compatible Android and iOS phones.
M2 works through the mobile app, not a desktop or laptop browser. Tap to Pay availability depends on the phone and account eligibility.
BEFORE YOU CONNECT
Sign in to KadePay and select the business that will use the terminal. Your business needs its Stripe payment setup and permission to configure terminals.
01 / WI-FI READER
Use the reader's registration code to add it to your KadePay business.
02 / BLUETOOTH READER
Assign the reader to the person who will use it, then connect through the mobile app.
03 / YOUR PHONE IS THE READER
No separate terminal to order, charge or pair.
STILL CHOOSING YOUR HARDWARE?
Open Terminals > New terminal. Choose Order beside WisePOS terminal or M2 portable terminal to open Stripe's store. When it arrives, return to Terminals to add it to your business.
Choose WisePOS for computer, tablet or phone use. Choose M2 for Bluetooth payments through the mobile app. Eligible Tap to Pay phones need no separate reader.
Terminals ConfigurationAFTER SETUP
Once your configuration is saved, use KadePay's payment flow to connect the reader and collect the payment.
TransactionsSETUP HELP
No. Ordering the hardware does not automatically add it to your business. Open Terminals > New terminal and complete the setup for its model. Add each reader separately.
Check the selected business. An owner or someone with permission to configure payment terminals may need to help. If KadePay reports that terminals are unavailable, check the business's Stripe payment setup or contact support with the message shown.
Check that the reader is online and that you entered its pairing code in the Registration Code field for WisePOS terminal. Generate a fresh code on the reader if needed, then try again.
Check the reader is powered on and nearby, Bluetooth is enabled, and you are using the KadePay mobile app as the user assigned to the terminal. Follow the app's reader-connection prompts; Bluetooth pairing alone is not enough.
No. M2 works through the mobile app on supported mobile devices. For KadePay on a computer, use a supported WisePOS terminal over Wi-Fi.
No. It is available on some compatible Android and iOS phones, subject to account eligibility. Check readiness in the mobile app on the phone you want to use. Eligible phones need no additional payment hardware.
Open Terminals and use the pencil/edit control. Update the fields available for its type, such as name, location or assigned user, and choose Save. Edit the existing configuration instead of adding a duplicate.
No. Saving adds its configuration to your business. Complete a payment through New Charge and check its status. Check an interrupted or uncertain transaction before starting another charge.
Ask Kady for help, or contact our team if your account or reader needs a closer look.